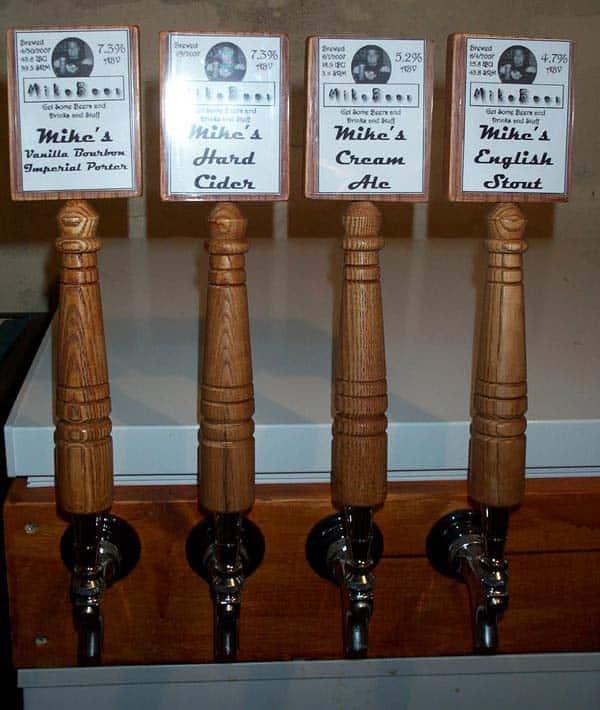
What most of us casually call tap handles are more accurately faucet handles. The tap is that coupler thing that you connect to the keg to get the beer out. The faucet is what carries that beer to your glass.
Be that as it may, do-it-yourself handles are fun and easy. Thanks to a miracle of modern standardization, virtually all beer faucets feature either a 3/8"-16 UNC (United States) or M10×1.5mm (everywhere else) external threaded post for mounting a faucet, which means that the only things you need for making your own handle are:
For those unfamiliar with the nomenclature, 3/8"-16 UNC means the diameter of the threaded feature is 3/8-inch (9.5 mm) and there are 16 threads per inch (UNC just means it’s a coarse thread). Similarly an M10×1.5mm metric thread has a 10 mm diameter and a thread pitch (distance between threads) of 1.5 mm. Some automakers use the M10×1.5mm pattern for gear shifter knobs, in case you’ve ever wanted your very own Lotus-themed kegerator.
As long as you can find a way to get an internal thread of the right pattern into your chosen material, you can turn just about anything into a tap handle. Metal objects will require that you tap the proper thread right into the material itself, but wood and plastic can be converted quite easily using a knife thread insert or a T-nut.
ADVERTISEMENTKnife thread inserts are most easily installed into wood or plastic by means of a special wide drill bit that attaches to the business end of a power drill or electric screwdriver. First, drill a hole for the insert using a 1/2" Forstner bit. A standard 1/2" bit may work, depending on how hard the surface is that you’re drilling into, but Forstner bits offer a cleaner hole that shouldn’t require sanding or fixing after you drill.
With the hole drilled, attach the knife thread insert installation bit to your drill and slowly drill the insert into the hole until it’s flush with the surface.

If, like me, you don’t want to pay an extra $20 for a specialty bit, you can screw the insert into the hole using a bolt and hex nut screwed into the insert, and a socket driver of some sort (either a bit, handheld socket wrench, etc.). Just use caution when screwing the insert to make sure it enters the hole straight.
Installing a T-nut, on the other hand, is as simple as hammering it into the material. Once you have a reliable thread in the would-be tap handle, it’s just a matter of screwing it onto the faucet itself.
No matter what kind of handle you use, always grip it at the bottom when pouring beer. Pulling on the handle from the top is a rookie mistake and can cause some damage thanks to the increased leverage—the longer the handle, the easier it is to break something. Instead, simply pull the base of the handle forward using your index and middle fingers and then push it back with your thumb once the glass is full.
When this article appeared in Issue 9 (October/November 2015) of _Craft Beer & Brewing Magazine®, _we asked that readers submit photos of interesting tap handles they’ve built. In response, one subscriber, Mike from New York, sent us this photo.
He said that it was a challenge with the deer rack and the calcified antlers. He also asked if we could recommend a site for purchasing the double threaded inserts because he “ripped through a LOT of them” from his local big box store. McMaster-Carr sells them in 10-packs for $7.67.
If you’ve built an unusual or interesting tap handle, we’d love to see your photos. As for me, I’d like to convert a tejolote (the pestle used with a stone grinder—molcajete) one of these days, just as soon as I figure out the best way to tap a thread into basalt.
Now that you know how to make your own tap handles, learn how to build, maintain, and troubleshoot your home draft system with CB&B’s _Draft Systems _online course. Sign up today!
