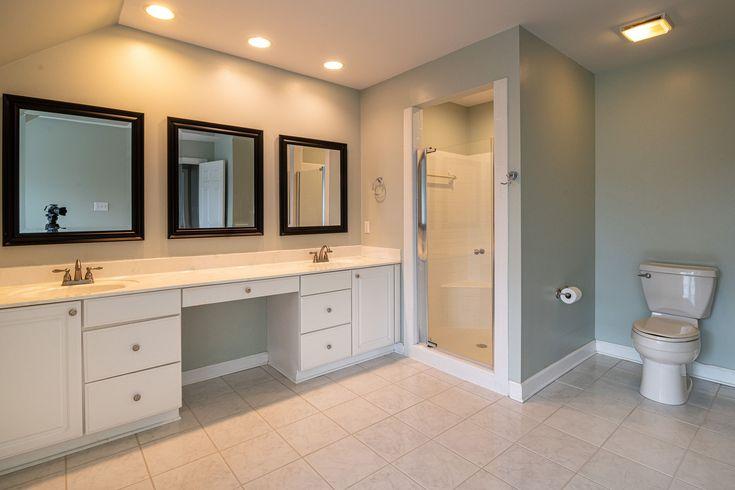
Painting a bathroom may be next on your list as a simple home makeover project and it will be very much worth your time. That is, if you get clued up on everything there is to know about how to paint a bathroom like an expert.
Just as when you are painting a room, great results come down to good preparation and technique. Bathrooms spaces are damp by nature and prone to mildew growth, so there are additional considerations to bear in mind with this project. Such as, finding the most suitable paint for your bathroom walls, priming and more. And, if you're painting a small bathroom, you'll need the most efficient way of tackling awkward angles like behind the toilet tank.
Do I need to prime bathroom walls before painting?
It depends on the condition of your walls. You'll need to clean them anyhow and if they are in good shape, a skim coat (very light coating of paint) should suffice. If you're fixing holes in the wall ahead of painting then you may want to consider a bathroom wall specific primer. We spoke to the experts at Farrow & Ball about how to paint a bathroom for professional looking results. 'Before painting starts, all areas should be cleaned to remove any surface contaminants and any imperfections should be sanded down, prepared, and filled at this stage. Priming the walls with one coat of our Wall and Ceiling Primer and Undercoat will create a good base for applying the topcoat and help assist the color change if the walls have been previously painted.'

How to paint a bathroom yourself
For the most part it's all about choosing the right paint to withstand humidity and to carefully prime and prep the walls for smooth, pro results. You want to choose either one of the best bathroom paints or a high quality regular paint with more solids for better durability. Semi-gloss and satin paints, as most bathroom specific paints are, work best as these are mold resistant and help inhibit mildew growth – useful in all homes and most especially if your home is historic. Of course, it goes without saying that you'll also want to pick a color that will help bring your favorite bathroom ideas to life.
1. Gather tools and materials for crisp edges
For an expert finish, you need the right tools too and you won't want to skimp on quality as it could impact the finish, not giving you crisp lines and making it harder to apply paint in the first place. These are the essentials when painting a bathroom yourself:
2. Protect the floor
Put your plastic sheeting down to protect the floors and start taping off baseboards, trim, the sink, and any cabinetry. You'll also want to decide at this stage whether you'll be carefully protecting the toilet tank with painters tape or, removing it entirely. You're likely to get a smoother finish by removing it however, It's quicker to paint around it especially if you haven't taken the tank off before.
3. Clean and prepare surfaces
Bathroom walls can become filthy overtime and a buildup of soap scum is highly likely. You should clean walls as best you can using sugar soap to remove any residue can you stop the paint from peeling in the long run.
Once the walls are dry you can prime the ceiling and walls using a skim coat of your paint or a primer. Make this a very thin coating so that it's quick drying and switch on your ventilator to speed up the process.
4. Cut in and paint the ceiling
As with any painting job you'll want to cut in for an even distribution. Start this when painting the ceiling of the bathroom. 'After stirring the paint thoroughly to ensure it is fully mixed, apply to the ceiling line, taking care not to leave a thick edge. It’s ok to come down onto the wall at this stage as you will be painting over this with the wall color. Using a roller, start rolling in the ceiling area evenly, overlapping by 50% as you go. Start from your strongest source of light (usually a window) and work away from it until the ceiling is coated.'
If you're using a different color for the walls and ceiling, try to not take your roller down to the walls when painting the ceiling.
5. Continue to cut in onto the walls
Next you want to cut in paint on your walls, along any trim and down to baseboards. Aim to work quickly and efficiently using your roller to overlap the edges. You'll then want to touch up any areas you've missed with your paint brush. Look to carefully remove the masking tape before the paint dries to stop any peeling. Let the paint dry thoroughly.
How do you paint a small bathroom?
You simply need to ensure you have everything that needs protecting well taped off. Neat edges will show the difference between someone who knows how to paint a bathroom like a pro and someone who's rushed through it with not much thought and prep. Some would say a smaller bathroom makes for better looking results as you're more likely to get the paint on the walls fast, allowing you time to take off the painters tape before the paint dries to stop any peeling. If your bathroom is small, think about using light bathroom color ideas for a spacious feel and you could even consider painting tiles too for more character. If space is super tight, consider removing the toilet tank for better movement when DIYing.
And, admire your work!
